


- Joined
- Mar 18, 2017
- Messages
- 1,532
- Reaction score
- 869
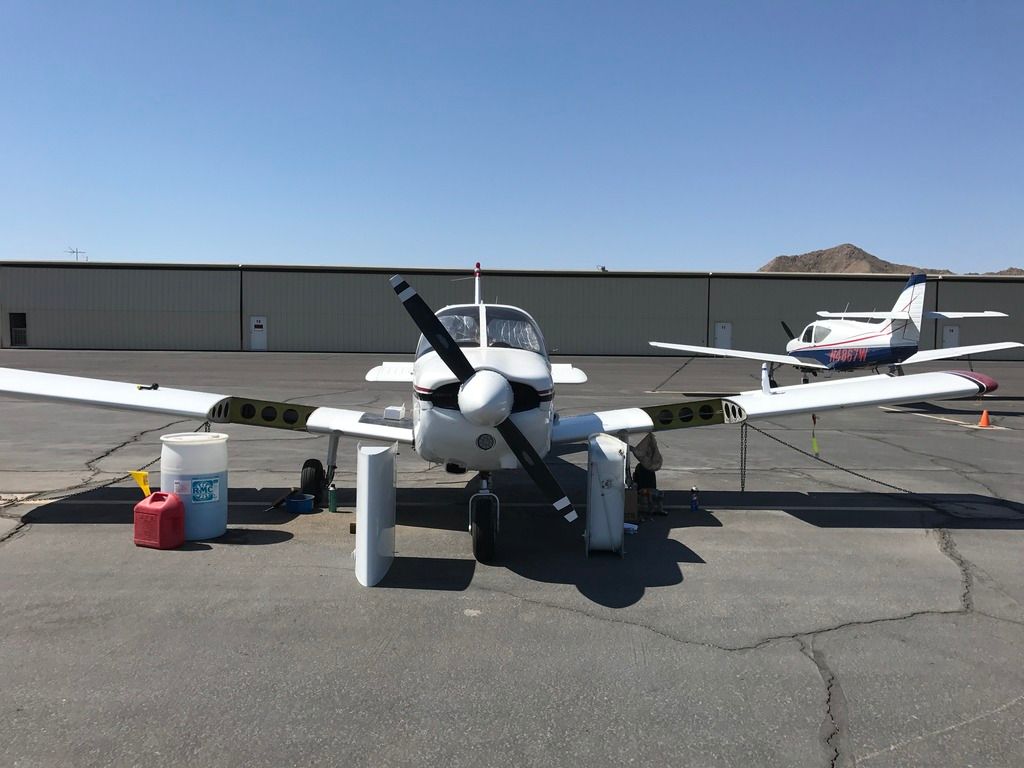
So, after being greeted with the lovely aroma of 100LL every time I opened the cabin door, I decided it was time to square away SB 1006. A review of the logs indicated it had likely never been done, though the tanks were out in 1995 for a reseal, and the bird was painted in 2007.
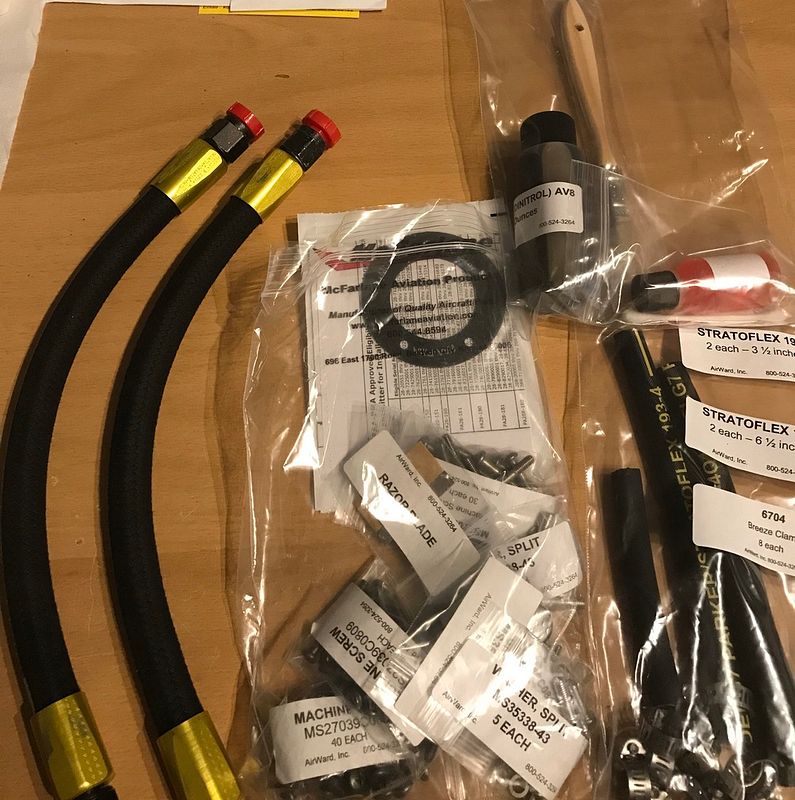
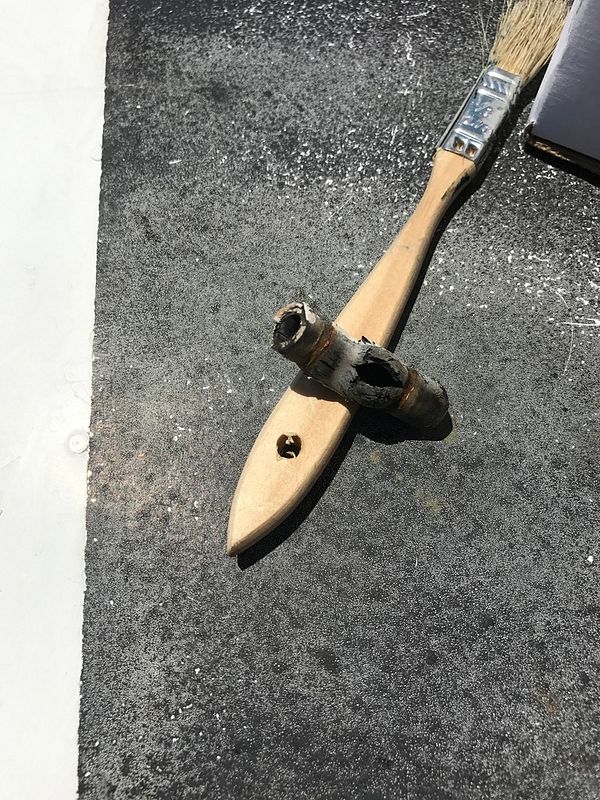
I ordered the SB 1006 kit from Dave Ward at Airward (www.airward.com). For $299 shipped, I got a nicely squared away kit with stainless hardware, all of the proper hoses (though he gives -way- too much vent hose for this particular configuration), fuel sending unit gaskets, and other necessary gear. Dave includes some nice details, such as a copy of the SB itself, packaged Dinitrol AV-8, some aerokroil (in case you have to fight with frozen screws), a few pairs of gloves, a chip brush for Dinitrol application, a razor blade, and a green scotchbrite pad. It's a well thought-out kit, and the hardware is nicely packaged in labeled bags. New fillister screws are included for the sending unit gaskets, as well as new breeze clamps for the vent lines. This was a good thing, as the old spring clamps were rusty and tired.
I'm pleased to say the screws didn't fight me much. I was able to manually back out all but one with a screwdriver and some Phillips #2 ACR bits. I'd purchased a few packs of the bits and some valve lapping compound in preparation of the war to come...but one bit sufficed. Only one screw needed some vise grip love.
The spars looked good, and the main spar itself was apparently zinc chromated from the factory. The ribs and skins, not so much. The zinc chromate was flaky on the spar cap - likely a product of 52 years of aerial awesome more than anything. An amazing amount of dust gets into the wing.
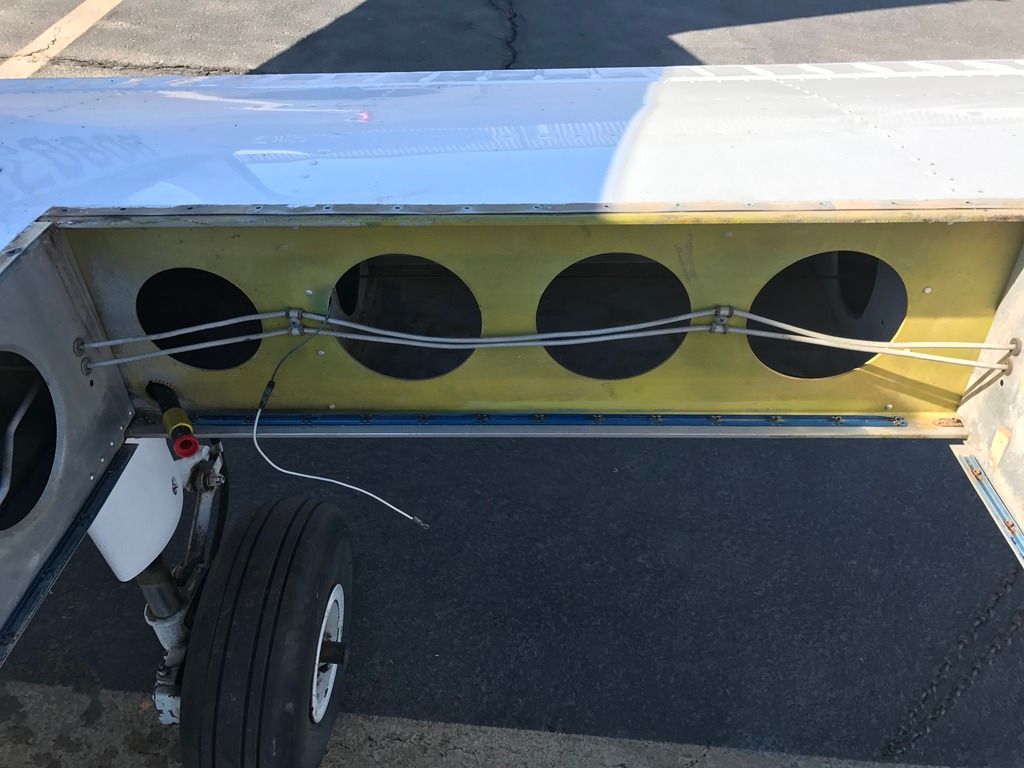
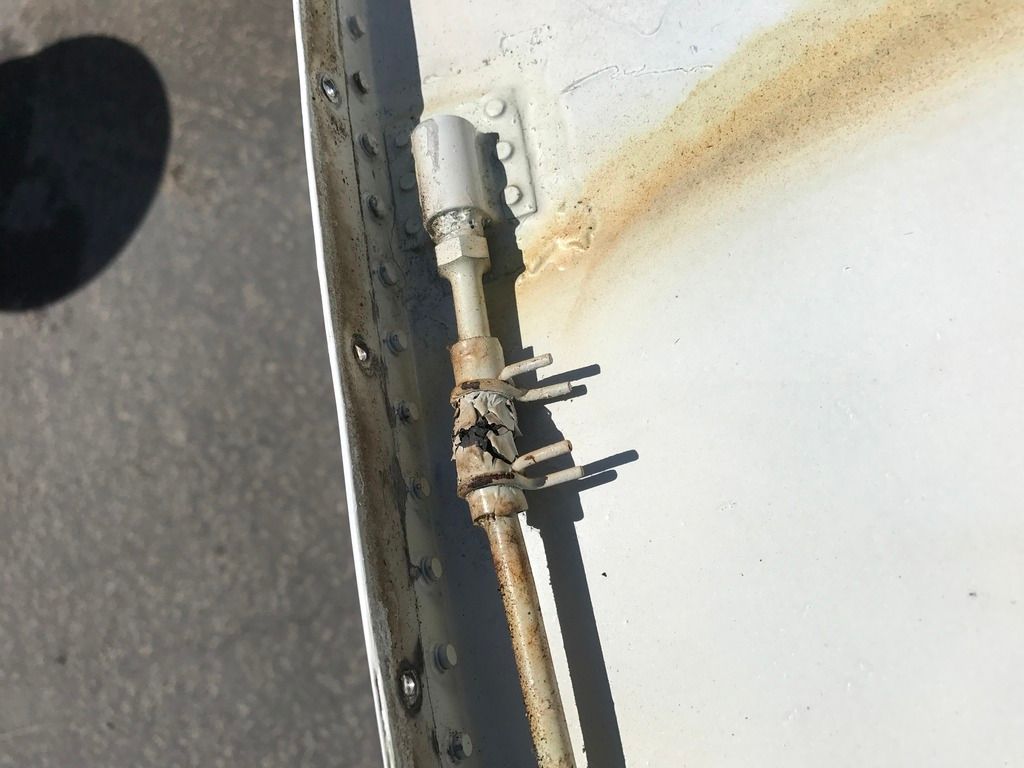
As forecasted, my vent lines were nasty, split, brittle toast. The fuel lines were likely 1965 originals. Flexibility was gone, and the new ones were far more pliable.
I've read stories of A&Ps billing 30 hours for this job. Although an airplane can fight you much more than this one, I just cannot see that. If the owner is willing to do some of the work removing and installing the 140 screws needed, and cleaning up some inside structure while the A&P does his or her magic on the lines, gasket, and inspection, I can see 6-8 being reasonable.
This would've been a great time to string wires for new strobes...but I didn't. I'm not sure if this bird is staying forever, or if there's a 235 in my future. Time will tell.
I ordered the SB 1006 kit from Dave Ward at Airward (www.airward.com). For $299 shipped, I got a nicely squared away kit with stainless hardware, all of the proper hoses (though he gives -way- too much vent hose for this particular configuration), fuel sending unit gaskets, and other necessary gear. Dave includes some nice details, such as a copy of the SB itself, packaged Dinitrol AV-8, some aerokroil (in case you have to fight with frozen screws), a few pairs of gloves, a chip brush for Dinitrol application, a razor blade, and a green scotchbrite pad. It's a well thought-out kit, and the hardware is nicely packaged in labeled bags. New fillister screws are included for the sending unit gaskets, as well as new breeze clamps for the vent lines. This was a good thing, as the old spring clamps were rusty and tired.
I'm pleased to say the screws didn't fight me much. I was able to manually back out all but one with a screwdriver and some Phillips #2 ACR bits. I'd purchased a few packs of the bits and some valve lapping compound in preparation of the war to come...but one bit sufficed. Only one screw needed some vise grip love.
The spars looked good, and the main spar itself was apparently zinc chromated from the factory. The ribs and skins, not so much. The zinc chromate was flaky on the spar cap - likely a product of 52 years of aerial awesome more than anything. An amazing amount of dust gets into the wing.
As forecasted, my vent lines were nasty, split, brittle toast. The fuel lines were likely 1965 originals. Flexibility was gone, and the new ones were far more pliable.
I've read stories of A&Ps billing 30 hours for this job. Although an airplane can fight you much more than this one, I just cannot see that. If the owner is willing to do some of the work removing and installing the 140 screws needed, and cleaning up some inside structure while the A&P does his or her magic on the lines, gasket, and inspection, I can see 6-8 being reasonable.
This would've been a great time to string wires for new strobes...but I didn't. I'm not sure if this bird is staying forever, or if there's a 235 in my future. Time will tell.